Throw Key for Cars — Key Tier List
Rank starter, mid, and premium keys by how far they throw and which car zones they unlock.
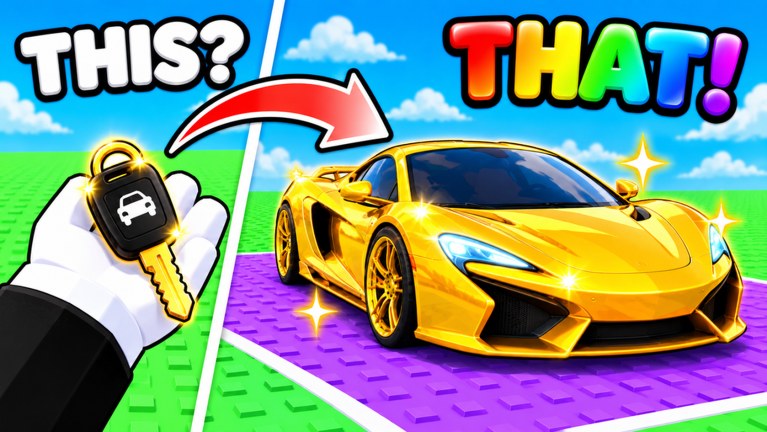
Keys are the skill shot tool in Throw Key for Cars. Better keys—and higher Throw Power—let landings hit farther zones where mid sports, rare supercars, and legendary cars appear. This page ranks key upgrade bands so you know when to spend cash on the next key versus training pull-up bars. Exact shop labels may change after the 2026-10-29 launch, but the starter → mid → premium progression stays the right mental model.
Read with the Car Tier List and Throw Power Guide. A premium key with zero Throw Power still underthrows; a trained starter key still cannot match a true premium’s ceiling.
Ranking criteria for keys
- Throw distance ceiling — How far a clean throw can travel with reasonable Throw Power.
- Zone access — Which car bands become realistic (starter economy, mid sports, rare, legendary).
- Cost efficiency — Cash required versus the income jump from newly reachable cars.
- Synergy with training — Whether the key scales well when you invest in pull-up bars.
Keys are not scored on looks. A flashy skin that does not extend zone reach is a cosmetic, not an upgrade.
S tier — Premium / far-zone keys
Role: Best keys in the shop for reaching rare and legendary car bands.
Why S: Highest distance potential. When paired with solid Throw Power, they turn “lucky far landings” into a farmable plan. They unlock the car tiers that actually refill plots with A/S earners.
Buy when: Your mid key consistently clears mid zones and cash from parked A/B cars can fund the purchase without emptying your ability to train Throw Power.
Play pattern: Premium key throws → park rare/legendary results → sell weak fillers → keep training so distance stays stable.
A tier — Mid keys (workhorse upgrades)
Role: The keys that move you out of starter-only gameplay.
Why A: Best cost-to-power jump for most accounts. Mid keys open sports and early rare bands that multiply plot income. Skipping mid to “save for premium” often slows you down because starter zones cannot fund the premium price quickly.
Buy when: Starter throws feel maxed even after several Throw Power sessions, or when you see mid-zone cars land just short of the target pad.
Play pattern: Alternate mid-key throw sets with pull-up training. Use new cash to fill plots, then bank for premium.
B tier — Improved starter / early upgrades
Role: First paid keys above the free default.
Why B: Meaningful but limited. They clean up awkward early distance and help park better C/B cars, yet they will not carry late rare farming.
Buy when: You have spare cash and still miss easy near-mid pads. Skip if a true mid key is already affordable.
Play pattern: Short ownership window. Treat B-tier keys as a bridge, not an endgame identity.
C tier — Default starter key
Role: Tutorial and first-minute throws.
Why C for progression: Necessary, not competitive. Teaches timing and zone layout. Holding it too long is the classic stall—players grind near cars forever instead of buying the first real upgrade.
Keep when: First session only, or when testing aim before spending.
Play pattern: Win any cars, park them, earn enough for the first upgrade, move on.
Quick reference table
| Tier | Key band | Primary job | Car bands unlocked |
|---|---|---|---|
| S | Premium / far-zone | Rare & legendary access | A–S cars |
| A | Mid workhorse | Income breakout | B–A cars |
| B | Early paid upgrade | Leave pure starter range | C–B cars |
| C | Default starter | Learn the loop | C cars |
Keys vs Throw Power — spend order
Use this simple rule:
- If you cannot reach the next zone at all, buy the next key tier when affordable.
- If you can reach it sometimes, train Throw Power on pull-up bars until consistency rises.
- If both key and power feel soft, prioritize the cheaper of (next key) vs (a focused training session), then reassess.
Throw Power multiplies whatever key you hold. Premium keys multiply trained power further. Neglecting either creates a soft cap that no auto-click habit will fix—see Scripts Hub only for risk education, not as a substitute for upgrades.
Early / mid / late shopping plan
Early: Starter → first paid / mid as soon as plot income allows. Ignore cosmetics.
Mid: Finish mid key, train Throw Power hard, start parking A-tier cars from Car Tier List.
Late: Premium key, maintain training, chase rare/legendary targets with help from Rare Cars.
Common key mistakes
- Saving forever for premium while a mid key would already double income.
- Buying a key skin instead of a distance upgrade.
- Skipping pull-up training after each key purchase.
- Measuring success by throw count instead of zone tier reached.
Related pages
- Tier List Hub — shared methodology
- Car Tier List — what each key tier is trying to unlock
- Throw Power Guide — official distance training
- Getting Started — first upgrade timing
Upgrade the tool that opens the next car band. That is the entire key tier list in one sentence.
Frequently Asked Questions
Quick answers to the most common Throw Key for Cars questions.
When should I buy the next key in Throw Key for Cars?
When your current key cannot reach the next car band even after Throw Power training, or when a mid/premium key is clearly cheaper than hours of stalled near-zone farming.
Is Throw Power more important than keys?
Both matter. Keys raise the ceiling; Throw Power raises consistency. Buy keys to unlock bands, train pull-ups to hit them reliably.
Are starter keys ever worth keeping?
Only at the very beginning. Replace them with early paid or mid keys as soon as plot income allows.
Do premium keys guarantee legendary cars?
No. They make far zones reachable. You still need accurate throws, Throw Power, and luck inside those zones.