Throw Key for Cars Zones and Distance Progression
Learn how key landing zones pick your car and how to farm farther bands on purpose.
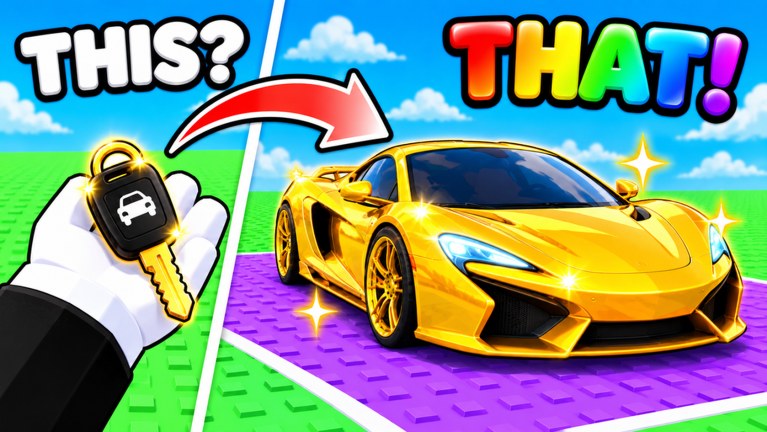
In Throw Key for Cars, the map is divided into zones along the throw path. When your key lands, the zone under that landing determines which car you win. Closer zones feed common cars into your plot. Farther zones unlock stronger earners and the rare pools that define late progression. Understanding zones turns random throws into a plan.
This guide covers how zone rewards work, how to advance into farther bands, and how to farm a chosen zone efficiently. Pair it with Throw Power for distance training and Rare Cars when you are hunting specific rarities.
How zones decide your car
The core rule is simple: landing zone selects the reward table. You are not throwing for a single fixed car every time; you are throwing into a band that can award cars from that band’s set. Better bands generally mean better average cars, higher plot value, and access to rare or legendary outcomes.
That design means two throws with the same key can feel different if they land in different zones. It also means a slightly shorter, controlled throw into a valuable band often beats a maximum-effort toss that overshoots into a weak or empty result. Aim for the zone you want, not only for maximum studs.
After each throw:
- Note which zone the key settled in.
- Claim the car awarded from that zone’s pool.
- Decide whether it deserves a plot slot compared with what you already park.
- Adjust power, key, or aim for the next attempt.
Early zones: fill the plot first
Starter Throw Power only reaches nearby zones. That is fine. Early bands exist to teach the loop and fill plot slots quickly. Park everything useful, keep income ticking, and treat early cars as temporary workers rather than forever keepers.
Goals for the first bands:
- Learn the visual markers for each nearby zone.
- Fill every open plot slot.
- Build enough cash to train Throw Power and afford a meaningful key upgrade.
- Stop over-investing in the absolute weakest cars once better bands open.
If you are still learning controls and the first throw, return to Getting Started before optimizing farm routes.
Advancing to farther zones
Farther zones require more Throw Power and often benefit from better keys. Advancement is a threshold problem: you need enough average distance that the target band becomes normal, not lucky.
Progress checklist:
- Train pull-up bars until practice throws kiss the next band.
- Take five throws and count how often you actually land inside it.
- If you are under roughly consistent access, train more before shopping.
- If access is stable, buy the next key when it improves that band’s car quality or rarity odds.
- Reassess plot income and replace weak cars with new awards.
Do not unlock a farther zone once and assume you are done. Consistency matters for farming. A zone you hit one time in ten is a preview, not a farm route.
Zone farming strategy
Pick one target band per session once you leave pure early game. Farming means repeatedly landing in that band to roll its car pool while plot income runs in the background.
Choose a farm zone when:
- You can hit it on most throws with your current Throw Power.
- Its cars are upgrades for empty or weak plot slots.
- You still need cash or specific rarities from that pool before pushing farther.
Leave a farm zone when:
- Plot slots are full of better cars than the band usually gives.
- You can consistently reach the next band.
- You are specifically hunting rarities that live farther out—see Rare Cars.
During a farm block, minimize downtime: throw, claim, park or discard quickly, optionally train a short Throw Power burst, then throw again. Idle walking without a reason burns the advantage of a good band.
Aiming and landing control
Maximum power is not always optimal. If your key tends to fly past a lucrative mid band into a worse result, ease the throw or adjust angle so landings cluster inside the money zone. Controlled accuracy compounds with Throw Power; raw distance without placement wastes both.
Use landmarks on the course—signs, color changes, terrain breaks—as mental reticles for each band. After a patch, walk or observe the course again; zone art and distances can shift with updates (the game was updated as recently as 2026-11-16).
Keys, tiers, and zone quality
Keys change how rewarding a zone is when you do land there. A better key in the same band can improve car outcomes, while Throw Power decides whether you enter the band at all. When you are ready to spend:
- Compare options on the keys tier list.
- Judge keepers with the cars tier list.
- Confirm the purchase still matches your current farm zone, not a fantasy band you cannot hit.
Codes that grant cash or boosts can accelerate a zone push—check codes before a long farm session.
Mid and late zone goals
Mid game: Hold a stable farm in the best band you can hit consistently. Use it to replace early plot junk and fund the next power/key spike.
Late game: Alternate between a reliable income band and deliberate attempts at the farthest rare bands. Income bands pay for the attempts; rare bands are where legendary hunts happen.
Whenever stuck: Ask whether the problem is power (cannot reach), key (reach but weak rewards), or plot (rewards fine but slots mismanaged). Open Throw Power, Rare Cars, or Getting Started based on that answer.
Quick reference links
- Guides Hub — all walkthroughs
- Throw Power — pull-up training and distance mistakes
- Rare Cars — targeting rare and legendary outcomes
- Cars Tier List / Keys Tier List — what to keep and buy
Zones are the reward map of Throw Key for Cars. Learn their markers, train until your average throw owns the next band, farm with intent, and only then stretch toward the rarest landings on the course.
Frequently Asked Questions
Quick answers to the most common Throw Key for Cars questions.
How do zones work in Throw Key for Cars?
Your key's landing zone selects which car pool you roll from. Farther zones generally award better and rarer cars for your plot.
Why do I keep getting weak cars?
You are probably landing in early zones. Train Throw Power and improve keys until you can consistently hit farther bands.
Should I always throw as far as possible?
Not always. A controlled landing inside a valuable zone often beats an overshoot into a weaker or empty result.
When should I stop farming a zone?
Stop when its cars no longer upgrade your plot or when you can reliably reach a better band that is worth the extra distance.
What helps me reach farther zones faster?
Prioritize pull-up Throw Power training, keep the plot earning, then buy keys that support the new band once distance is consistent.