Beginner Tips for Throw Key for Cars
Practical habits that turn early throws into steady plot income and smarter upgrades.
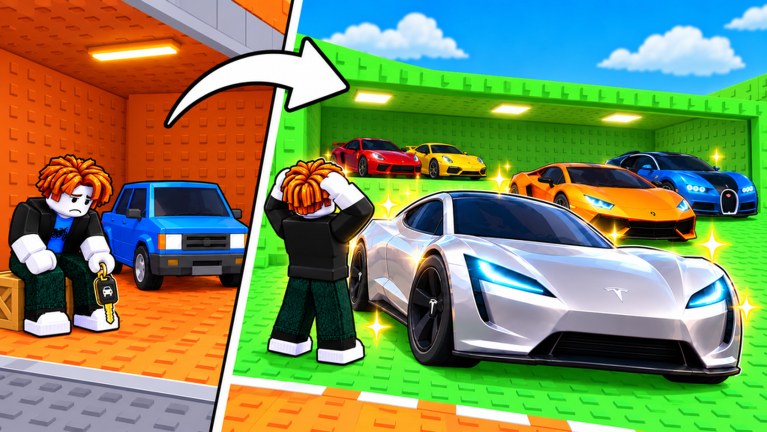
Throw Key for Cars by VEGA TRUTH looks simple—throw a key, win a car, park it, earn cash—but most slow starts come from the same handful of habits. This page is a practical tip sheet for players who already know the basic loop from Getting Started and want fewer wasted sessions. The experience launched on 2026-10-29, stays actively patched (including 2026-11-16), runs five-player servers, and sits in a busy live meta with roughly nine thousand concurrent players on good days. Use these tips to spend that time well.
First-session mistakes to stop immediately
Throwing nonstop without parking. A car that never reaches your plot pays nothing. After every successful throw, claim and park before the next toss. Empty slots are free income you are choosing not to collect.
Ignoring pull-up bars until you feel stuck. Throw Power is the soft gate for every better zone. Train early in short blocks so distance grows with your cash, not after a soft lock.
Buying the flashiest key the shop shows. A premium key that still lands in the same starter band is a vanity purchase. Match keys to bands you can already hit; see the keys tier list when you shop.
Skipping codes because “there never are any.” Status changes after updates. Check the honest codes hub at the start of a session. Today there may be none confirmed—that is fine—but a real drop after a patch is easy money.
Treating one lucky long throw as your real range. Judge distance from a small sample of normal throws, not a single perfect release. That habit alone saves hours of false confidence.
Cash priority: keys vs Throw Power vs cosmetics
When cash is tight, use this order:
- Fill every plot slot with any car that earns. Occupancy beats perfection early.
- Fund Throw Power time until the next zone band is consistent—details in the Throw Power guide.
- Buy the key that improves that band or unlocks a clearly better pool.
- Replace weak plot cars using the cars tier list as a keep/sell compass.
- Cosmetics and flex spends last. Looks do not raise zone access or income.
Codes and lucky drops should follow the same ladder. Early players who blow rewards on cosmetics stay trapped in near zones while peers who buy power and keys pull ahead.
Aiming beats raw max power
Maximum charge is not always the best throw. Zones reward where the key lands, not how dramatic the arc looks. If you routinely overshoot a lucrative mid band into a weaker result, ease the throw or adjust angle so landings cluster inside the money zone.
Practical aiming habits:
- Pick one target band per block of throws.
- Use course landmarks (color breaks, signs, terrain) as mental reticles.
- After a Throw Power bump, re-learn the new feel with five measured throws before farming.
- Prefer a controlled landing in a good band over a maximum heave into RNG you cannot farm.
Read Zones when you want a full farming plan; the tip here is simply: accuracy compounds with power, and power without placement wastes both.
Plot hygiene that actually raises income
Treat the plot like a small business floor, not a garage museum.
- Park new cars immediately so income ticks while you train or shop.
- Replace the weakest earner whenever a clearly better car drops.
- Do not leave sentimental starter cars in premium slots once mid-band vehicles arrive.
- Before a long Throw Power or rare-hunt block, tidy slots so every minute of AFK-adjacent training still pays.
- After each shop upgrade, glance at the plot again—new keys only matter if parked cars fund the next spike.
Plot hygiene is the quiet multiplier behind every other tip on this page. Players who “grind throws” with half-empty plots fall behind players who throw less but park ruthlessly.
When to push rare hunts (and when not to)
Open the rare cars guide only when the pipeline is ready:
- Your average throw reaches the rare band most of the time, not one in twenty.
- Plot slots are full so income runs during the hunt.
- You own (or can afford) the key that improves that band’s rolls.
- You are willing to farm one focused band instead of hopping the whole course.
If any of those are false, you are gambling with starter odds. Push Throw Power and plot income first; rarity is the last ten percent of the pipeline, not the first session goal. When you do hunt, sample several throws before judging a key, and park upgrades the moment they appear.
Mobile vs PC tips
Both platforms can clear the full loop. Differences are mostly input comfort.
PC: Keyboard and mouse make fine aim adjustments easier. Use that for controlled mid-band farms once you outgrow “yeet as hard as possible.” Learn throw input and plot interaction from the controls overview if anything feels unclear.
Mobile / touch: Prioritize a clean release over fancy movement. Plant your feet, line up the landmark, and accept slightly wider landing variance—compensate with more Throw Power so your average still owns the target band. Keep UI taps deliberate when claiming and parking so you do not drop cars or skip slots in a rush.
Either device: Short training blocks between throws beat one huge AFK session followed by confused aiming. Five-player servers are social but not required; you can progress fully solo.
After-patch checklist
The game updates often. Before a long farm after a patch:
- Skim Updates for economy, zone, or key changes.
- Re-check codes—drops often land with patches or like milestones.
- Throw a warm-up sample; distances and zone art can shift.
- Revisit shop prices and the keys / cars tier pages if the meta moved.
- Tidy the plot, then resume your farm band or Throw Power plan.
Skipping this five-minute checklist is how players waste an hour farming a nerfed band or missing a live code.
A clean beginner session template
- Join, redeem any live codes, open the plot.
- Park or replace until every slot earns.
- Train pull-up bars for a set block.
- Take five throws aimed at one zone; note consistency.
- Spend only if the next key or power goal is clearly unlocked.
- End with a full plot and a written next target (band, key, or rare hunt).
That template pairs with Getting Started for the absolute first hour and with this tip sheet for every session after.
Related pages
- Getting Started — first-hour walkthrough
- Throw Power — pull-up training and distance mistakes
- Zones — landing bands and farm routes
- Rare Cars — when the rarity pipeline is ready
- Plot Income — park, replace, and grow passive money
- Keys Tier List / Cars Tier List — spend and keep decisions
- Controls — input basics on PC and mobile
- Codes / Updates — freebies and patch timing
- Guides Hub — full walkthrough map
Master the boring habits—park everything, train on purpose, aim for zones, spend on power and keys before cosmetics—and Throw Key for Cars opens up long before luck alone would.
Frequently Asked Questions
Quick answers to the most common Throw Key for Cars questions.
What is the biggest beginner mistake in Throw Key for Cars?
Throwing without parking cars and skipping Throw Power training. Empty plots and low distance stall every later upgrade.
Should I buy keys or train Throw Power with early cash?
Train until you can consistently reach the next zone you care about, then buy the key that improves that band. Cosmetics come last.
Is maximum throw power always best?
No. Aim for the zone you want to farm. A controlled landing in a strong band beats overshooting into a weaker result.
When should beginners start hunting rare cars?
Only after your average throw hits the rare band reliably, your plot is full, and your key matches that farm. Earlier hunts waste time.
Are there codes that help new players?
Sometimes after patches, but none may be confirmed on a given week. Check the codes hub honestly instead of trusting random lists.
Do I need different tips on mobile versus PC?
The loop is the same. PC aims more finely; mobile players should favor clean releases and extra Throw Power to cover touch variance.