Getting Started in Throw Key for Cars
From your first throw to a working plot income loop in one session.
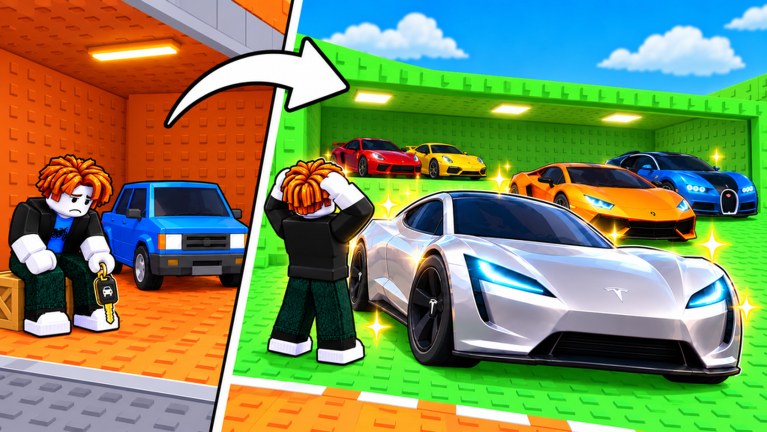
Throw Key for Cars (also described in-game as Throw a Car) is a Roblox simulation / tycoon by VEGA TRUTH. You throw a car key down a long course, win the car tied to the zone where the key lands, park cars on your plot for money, train Throw Power on pull-up bars, and buy better keys so later throws reach rarer cars. This beginner walkthrough covers the first session in order so you leave with a parked car, a training habit, and a clear upgrade plan.
The experience launched on 2026-10-29 and remains actively updated. Servers hold up to five players. You do not need friends to progress; the loop is solo-friendly with light social presence.
Join the game and learn the layout
Open the official place, Throw Key for Cars on Roblox, and wait for the map to load. Note three landmarks as soon as you spawn:
- The throw area where you aim and release your key.
- Your plot where parked cars earn money over time.
- Pull-up bars used to raise Throw Power for longer distance.
Glance at the controls overview if movement, throw input, or plot interaction feels unclear on your device. Keyboard and touch both work; the important part is a clean release on the throw, not fancy movement tech.
Before you sink time into grinding, check working codes and redeem anything active. Early cash or boosts shorten the awkward starter phase.
Your first throw
Equip the starter key. Face the course, charge or release according to the on-screen prompt, and send the key as far as you can with your current Throw Power. Do not worry about perfect aiming on throw one. The goal is to learn how distance maps onto zones painted along the course.
Where the key lands matters more than style. Each zone awards a car from that band’s pool. Closer zones give common starter cars; farther bands hold better vehicles once you can reach them. For the full zone ladder and farming ideas, read the zones guide after this page.
If the key falls short, that is expected. Starter Throw Power is low on purpose. Collect whatever car you earned and move to parking before you spam throws.
Claim your first car and park it
After a successful throw, claim the car tied to the landing zone. Drive or move it onto an open slot on your plot. Parking is the income engine. Cars left floating or ignored do not pay you while you train or shop.
Fill every free plot slot you unlock. Even weak starter cars add a trickle of cash that funds the next key or training time. Selling or replacing cars comes later; early on, occupancy beats perfection.
Watch the plot for a few seconds to confirm income ticks. That feedback loop—throw, win, park, earn—is the entire early game in miniature.
Find the pull-up bars and train Throw Power
Locate the pull-up bars on the map and start training. Each session raises Throw Power, which increases how far your next key can travel. Distance is the soft gate for every later system: better zones, rarer cars, and meaningful key upgrades.
Train in short bursts between throws instead of ignoring bars until you feel stuck. A modest power bump often unlocks the next zone band sooner than buying a flashy key you cannot fully use. The dedicated Throw Power guide covers upgrade priorities, why distance compounds, and mistakes that waste training time.
Complete the early money loop
Once one car is parked and you have trained at least once, run this loop until it feels automatic:
- Throw the key toward the farthest zone you can hit consistently.
- Park the new car if you have a free slot (or replace a clearly weaker earner).
- Spend idle minutes on pull-up bars while plot income accumulates.
- Buy the next key only when it helps you reach a better zone or rarer pool.
- Repeat.
Resist spending every coin the moment it appears. Bank enough for the next meaningful key tier while keeping Throw Power climbing. Plot income is slow at first and accelerates as you fill slots with stronger cars from farther zones.
First key upgrade
When you can afford a better key, buy it with intent. Keys change which cars you can roll and how effectively you contest farther zones. A key upgrade that still leaves you short of the next band is a weaker buy than another round of Throw Power training.
After the purchase, throw several times to learn the new feel. Compare average landing zones against your old key. If you are still landing in the same band, go back to pull-up bars before chasing the next shop tier. For long-term rarity hunting, continue into the rare cars guide and cross-check keepers on the cars tier list.
What success looks like after the first session
You are on track if you can say yes to most of these:
- You understand throw → zone → car → plot as one loop.
- At least one car is parked and generating money.
- You know where pull-up bars are and have trained Throw Power at least once.
- You redeemed any live codes without breaking the flow.
- You know which guide to open next when distance, zones, or rarity become the bottleneck.
Next pages after Getting Started
- Throw Power — deepen training so every throw reaches farther bands
- Zones — plan which band to farm and how landing spots decide rewards
- Rare Cars — turn plot income into legendary pulls with better keys
- Cars Tier List — decide which cars deserve plot slots
- Guides Hub — full map of walkthroughs on this wiki
Stay patient in the first hour. Throw Key for Cars rewards consistent throws and plot discipline more than lucky one-offs. Train, park, upgrade keys when they unlock real distance, and the rare-car chase opens naturally.
Frequently Asked Questions
Quick answers to the most common Throw Key for Cars questions.
What should I do first in Throw Key for Cars?
Throw your starter key, claim the car from the landing zone, park it on your plot, then train Throw Power on pull-up bars before buying expensive keys.
Why does parking cars matter so early?
Parked cars generate the money that funds key upgrades and keeps progress moving while you train. Empty plot slots waste that passive income.
When should I buy my first better key?
Buy when the upgrade clearly helps you reach a better zone or rarer car pool. If Throw Power still cannot hit that band, train first.
Where can I learn controls and codes?
Use the controls page for input basics and the codes hub for active promo rewards before or during your first session.
What limits how far I can throw?
Throw Power from pull-up training is the main soft gate. Better keys help, but power decides whether you consistently reach farther zones.