Throw Key for Cars Throw Power Training Guide
How pull-up bars, distance, and upgrade timing decide every later zone and car.
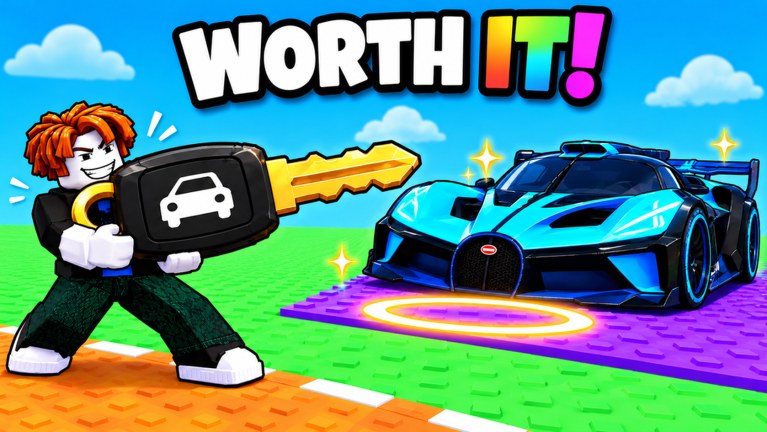
Throw Power is the central progression stat in Throw Key for Cars. It controls how far your car key travels when you throw. Farther landings reach better zones, and better zones award stronger and rarer cars that raise plot income. Without steady Throw Power training, key upgrades and rare-car goals stall no matter how much cash you hold.
This guide explains why distance matters, how to use pull-up bars efficiently, what to prioritize when money is tight, and which mistakes slow players down after the Getting Started loop.
Why Throw Power matters more than it looks
Every major system in the game leans on distance:
- Zones — the band where your key lands selects the car pool. Miss the band and you never see that tier of vehicle. See the zones guide for band strategy.
- Rare cars — legendary and high-value cars sit in farther or harder-to-contest zones. Power is the ticket. Details live in rare cars.
- Economy — stronger parked cars pay more. More income funds keys and more training time.
- Key value — a premium key underperforms if your Throw Power cannot deliver it into the intended zone.
Think of Throw Power as the soft level cap for the whole tycoon. Keys and cars are the loadout; power is whether that loadout can reach the content.
Finding and using pull-up bars
Pull-up bars are the dedicated training stations on the map. Interact with them to gain Throw Power over time. You do not need a perfect route on day one—just know where the bars are relative to your plot and the throw line so you can weave training into every session.
Practical rhythm:
- Park any new car so income keeps ticking.
- Spend a focused block on pull-up bars.
- Return to the throw line and test your new average distance.
- Note which zone you now reach consistently.
- Train again when your average falls short of the next band you want.
Short, repeated training blocks beat one long AFK session followed by confused throws. Always verify distance with real throws after a power bump so you know whether the next zone is unlocked in practice, not only on paper.
Distance goals by stage
Early game: Train until you reliably clear the first few zones and can fill plot slots with anything better than the absolute starter cars.
Mid game: Push power until the next meaningful zone band is a normal throw, not a miracle. That is when key upgrades start paying for themselves.
Late push: Train specifically for the rarest bands you are hunting. Pair high Throw Power with the right key and zone targeting from the rare cars guide.
Write down or remember your typical landing mark. If three throws in a row land short of your target band, you need more power (or a better key), not more random spam.
Upgrade priorities when cash is limited
Money in Throw Key for Cars wants to go three places: plot growth (indirectly via better cars), Throw Power time (opportunity cost), and key shop purchases. A clean priority order for most players:
- Keep the plot full — empty slots are free money left on the table.
- Train Throw Power to the next zone threshold — distance unlocks better car pools.
- Buy the key that enables that new band or rarity — check the keys tier list when choosing.
- Reinvest into stronger plot cars — replace weak earners using guidance from the cars tier list.
- Only then chase luxury or skip-ahead purchases.
Buying keys before you can reach the zones they are meant for is the most common mid-game trap. Training until the band is consistent, then buying the key, usually feels slower for ten minutes and faster for the rest of the week.
Common Throw Power mistakes
Ignoring bars after the first car. Players get excited about throwing and forget training until they soft-lock on a zone wall. Schedule bars into every session.
Judging power from one lucky throw. Wind-up feel, angle, and variance exist. Use a small sample of throws to judge true reach.
Spending all cash on keys, zero plan for power. Keys amplify power; they do not replace it.
Training forever without testing. After a power block, throw. Confirm the new zone access, then decide the next spend.
Leaving cars unparked while training. Plot income should run during pull-ups. Parking is part of training efficiency.
Chasing rare cars with starter distance. Read rare cars only after your average throw can threaten the relevant bands.
Session template for Throw Power focus
Use this when your goal for the day is distance:
- Redeem any new codes that help cash or progress.
- Fill or tidy plot slots so income is maximized.
- Train pull-up bars for a set block (decide a time or rep target before you start).
- Take five measured throws and note landing zones.
- If the target band is stable, buy the next key or farm that zone. If not, train another block.
- End by parking any upgrades and checking whether plot income rose.
This template keeps Throw Power tied to tangible zone progress instead of endless grinding with no checkpoint.
How Throw Power links to the rest of the wiki
- New to the game? Finish Getting Started first.
- Ready to plan landings? Open Zones.
- Hunting legendaries? Continue to Rare Cars.
- Choosing purchases? Use Cars and Keys tier lists.
- Need the full guide map? Return to the Guides Hub.
Throw Power is not a side activity. It is the main progression lever that makes every other system in Throw Key for Cars feel fair. Train deliberately, test with real throws, and spend keys only when distance already supports the zone you want.
Frequently Asked Questions
Quick answers to the most common Throw Key for Cars questions.
How do I increase Throw Power in Throw Key for Cars?
Train on the map's pull-up bars between throws. Power gains increase how far your key travels into better zones.
Should I buy keys or train Throw Power first?
Train until you can consistently reach the next zone band you care about, then buy the key that improves that band's results.
Why can I not reach rarer car zones yet?
Your Throw Power is likely below the distance required for that band. Train more, then retest with several throws before changing keys.
Does parking cars help Throw Power training?
Indirectly yes. Parked cars fund keys and keep income flowing while you train, so you are not forced to stop progressing for cash.
How do I know my Throw Power is high enough?
When a small sample of normal throws lands in your target zone most of the time, not only on perfect attempts.