Throw Key for Cars How to Get Rare and Legendary Cars
Stack Throw Power, keys, and zone targeting so premium cars land on your plot.
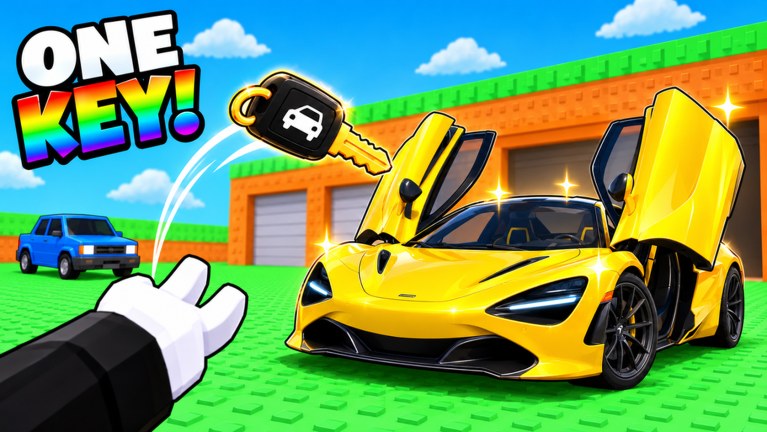
Rare and legendary cars are the prestige and income payoff in Throw Key for Cars. They come from throwing the right key into the right zone with enough Throw Power to make that landing repeatable, then reinvesting plot cash so each attempt is better than the last. This guide ties those systems together for players who already finished the Getting Started loop and understand basic zones.
VEGA TRUTH’s tycoon does not hand out top cars in the first minutes. Expect a climb: fill the plot, train distance, upgrade keys, then hunt.
What makes a car rare
Rarity here is a mix of zone depth, key quality, and RNG inside the landing pool. Farther zones hold better tables. Stronger keys improve what those tables can give you when you arrive. Throw Power is the gate that lets you stand in front of those tables at all.
Treat rarity as a pipeline:
- Power reaches the zone.
- Key improves the roll inside that zone.
- Plot income funds more power and better keys.
- You keep only the cars worth a slot—see the cars tier list.
Skipping any step turns the hunt into pure gambling with weak odds.
Build Throw Power before you obsess over luck
If your average throw cannot threaten the bands where rare cars live, no amount of shop staring will help. Follow the Throw Power guide: train pull-up bars, test with a sample of throws, and unlock consistent access to the target zone before calling the session a rarity farm.
Checklist before a rare hunt:
- Plot slots are filled so income runs during attempts.
- Pull-up training has pushed your typical landing to the rare band.
- You can hit that band on most throws, not one in twenty.
- You know which key you will use and why (see keys tier list).
Choose keys that match the hunt
Keys are your rarity tickets. A better key can shift outcomes inside a zone toward stronger and rarer cars. Buy upgrades when they clearly serve the band you can already reach, or when they are the missing piece that makes a newly unlocked band worthwhile.
Spending tips:
- Prefer the key that improves your current farm zone over a flashy tier you cannot supply with distance.
- After each purchase, throw a short sample set and compare car quality to the previous key.
- Revisit the keys tier list when the shop expands after updates.
- Use codes for free cash when a key tier is just out of reach.
Keys without Throw Power are wasted potential. Throw Power without a decent key leaves rare odds on the table. Raise them together.
Zone targeting for rare pulls
Open the zones guide and pick the farthest valuable band you can farm consistently. That band is your rare-car workstation. During a hunt session:
- Warm up with a few throws to confirm landings.
- Adjust aim so you settle inside the band instead of overshooting.
- Claim quickly, evaluate the car against the cars tier list, and park upgrades.
- Replace weaker plot cars so income rises for the next shop spike.
- Take short Throw Power breaks if your landings start drifting short.
Do not bounce between three zones every five minutes. Focused volume in one correct band beats chaotic map tourism.
Reinvest plot income the smart way
Plot cash is the fuel for rarity. Every parked car should either earn or be replaced by something that earns more. Early common cars are scaffolding; mid rares are workers; legendaries are the long-term engine.
Reinvestment order that works for most players:
- Keep all slots occupied.
- Spend on Throw Power time until the rare band is stable.
- Buy the next key that improves that band.
- Replace the worst plot earner whenever a clearly better car drops.
- Only after the pipeline is healthy, burn surplus on speculative long-shot throws farther out.
If income feels stuck, you are usually parking weak cars, missing training, or holding cash instead of buying the next meaningful key.
Session plan for a rare-car night
Setup (5–10 minutes): Redeem codes, tidy the plot, train a short Throw Power block, equip the hunt key.
Main block: Repeat targeted throws into your rare zone. Park upgrades immediately. Ignore FOMO about farther zones you cannot hold.
Checkpoint: Every so often, review whether landings are still in-band. If not, train. If yes but cars are weak, reconsider the key using the keys tier list.
Close: End with a full plot of the best cars you own and a note of which band to push next session.
Mistakes that kill rare-car progress
- Hunting legendaries with starter distance.
- Buying every key tier instead of the one that matches your zone.
- Leaving plot slots empty during long throw sessions.
- Judging a key after a single throw instead of a sample.
- Ignoring Throw Power the moment the first semi-rare car appears.
- Keeping sentimental weak cars while better earners sit unclaimed.
How this page connects to the rest of the wiki
- Still learning the loop? Getting Started
- Distance problems? Throw Power
- Landing strategy? Zones
- Keep / buy decisions? Cars Tier List and Keys Tier List
- All guides: Guides Hub
Rare cars in Throw Key for Cars reward players who treat luck as the last ten percent. The first ninety percent is Throw Power, zone control, key choice, and ruthless plot reinvestment. Build that pipeline and the legendary landings stop feeling impossible.
Frequently Asked Questions
Quick answers to the most common Throw Key for Cars questions.
How do I get rare cars in Throw Key for Cars?
Train Throw Power to reach farther zones, use better keys for those zones, park strong cars for income, and reinvest until rare landings become farmable.
Are rare cars only RNG?
RNG decides the exact roll, but zone access and key quality decide whether you are rolling the rare tables at all.
Should I sell common cars while hunting rares?
Replace weak earners when you get upgrades, but keep the plot full. Empty slots slow the income that funds keys and training.
Which should I upgrade first for rarity: keys or Throw Power?
Throw Power first until the target rare zone is consistent, then buy the key that improves that zone's outcomes.
Where do I see which cars and keys are worth keeping?
Use the cars tier list and keys tier list on this wiki alongside this guide when you decide plot slots and shop purchases.