Throw Key for Cars Player Strategies
How to progress from first throws to far-zone cars without wasting cash or training time.
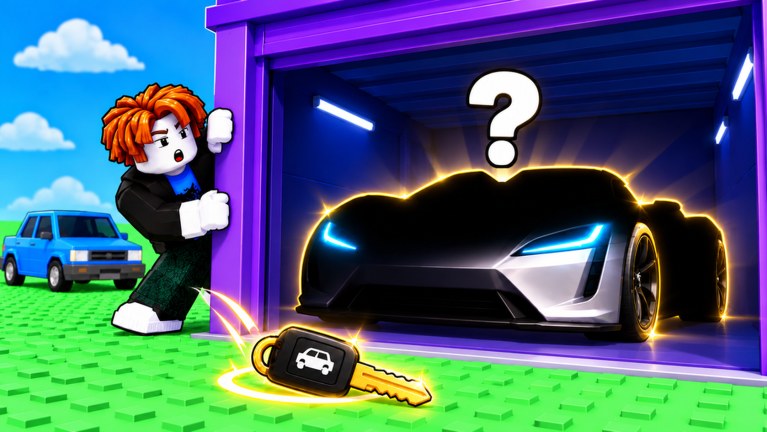
This Players Hub is the strategy map for Throw Key for Cars by VEGA TRUTH. The loop is simple on paper—throw a key, land a car from a distance zone, park it on your plot for passive money, buy better keys, then train Throw Power on pull-up bars so you can reach farther zones—but the order you invest in each step decides how fast you snowball. Use this page for early, mid, and late game plans, then jump into controls, the beginner guide, the car tier list, and the Throw Power guide when you need detail.
Core priorities at a glance
Every session should answer three questions: Can I throw far enough for the next valuable zone? Is my parked fleet earning enough to fund the next key or training bar? Am I wasting throws on cars that barely beat what I already park? Strategy pages on this wiki treat those questions as a progression ladder, not as random grinding tips.
Early game — learn the throw, fund the plot
New players should treat the first hour as setup, not as a race for rare cars. Start with the Getting Started checklist so you understand aim, charge, and how zone distance maps to Throw Power. Park every usable car you win—even low earners—because empty plot slots earn nothing. Spend early cash on the cheapest upgrades that raise either throw reach or plot income; do not hoard for a flashy key you cannot yet throw into a rewarding zone.
Controls matter more than most tycoon beginners expect. Mis-aimed throws burn time and can leave you walking back instead of earning. Read PC and mobile controls once, then practice a short charge–release rhythm until landings feel predictable. Early Throw Power training on the starter pull-up bar is usually worth more than buying a mid-tier key you cannot deliver far enough.
Early focus: reliable parking income → first Throw Power levels → one key upgrade that matches your current distance. Avoid chasing prestige cars until your throw consistently clears the nearer commercial zones.
Mid game — choose income focus or Throw Power focus
Around the time you can hit mid-distance zones, the wiki’s player guides split into two valid builds.
Income focus parks the best earning cars you can currently win, upgrades plot-related spend first, and uses surplus cash for keys that improve win quality in zones you already reach. This path feels safer if you play short sessions: your plot keeps paying while you are offline or AFK nearby. Check the car tier list so you know which parked cars are worth keeping when inventory or plot space gets tight.
Throw Power focus routes more cash into pull-up bars and training time so you unlock farther zones sooner. Farther zones typically gate better cars and keys, so a temporary dip in plot upgrades can pay off if you unlock a much stronger income band. Follow the Throw Power guide for training efficiency, perfect-throw habits, and when to buy the next bar instead of another key.
Neither path is “wrong.” Income focus wins if your throw already reaches a strong zone and you need liquidity. Throw Power focus wins if you are soft-locked by distance and keep wasting throws short of better cars. Hybrid players often alternate: train until a new zone opens, then farm that zone hard until the next distance wall.
Late game — optimize the fleet and the throw ceiling
Late game is about replacing mediocre parkers with high earners, refining aim into far zones, and watching patch notes so new keys or cars do not obsolete your setup overnight. Keep one eye on Updates after every live change, and recheck codes when the developers ship gifts with a patch. Rare and prestige cars are covered on dedicated guides such as rare cars once those pages are filled—use them to decide whether a hard-to-hit zone is worth the training investment.
At this stage, strategy is less “what do I unlock next?” and more “what do I drop?” Sell or replace low earners, stop buying keys that only win cars you already outclass, and measure sessions by Throw Power gained plus net plot income, not by raw throw count.
How to use this hub with the rest of the wiki
- New to the game → Getting Started then return here for priorities.
- Input questions → Controls.
- Distance walls → Throw Power.
- Which cars to keep → Car tier list.
- Free rewards after patches → Codes.
This hub will grow with more player-focused subpages (builds, AFK tips, co-op session etiquette in five-player servers). Until then, treat the links above as your live strategy stack and update your plan whenever a patch changes keys, zones, or training rates.
Frequently Asked Questions
Quick answers to the most common Throw Key for Cars questions.
Should I upgrade keys or Throw Power first?
If you cannot reach the next valuable zone, train Throw Power first. If you already land consistently in a profitable zone, buy a better key or park higher earners before more training.
Is an income-focused build viable long term?
Yes. Parking strong earners funds every later upgrade. Switch to Throw Power focus only when distance—not cash—is blocking better cars.
Where do I learn the controls?
See the controls guide for PC and mobile throw, pull-up, parking, and menu patterns, then practice in a quiet early zone.
How do I know which cars to keep?
Use the car tier list and compare passive income versus the cars already on your plot. Replace low earners when space or value is tight.